
Summary
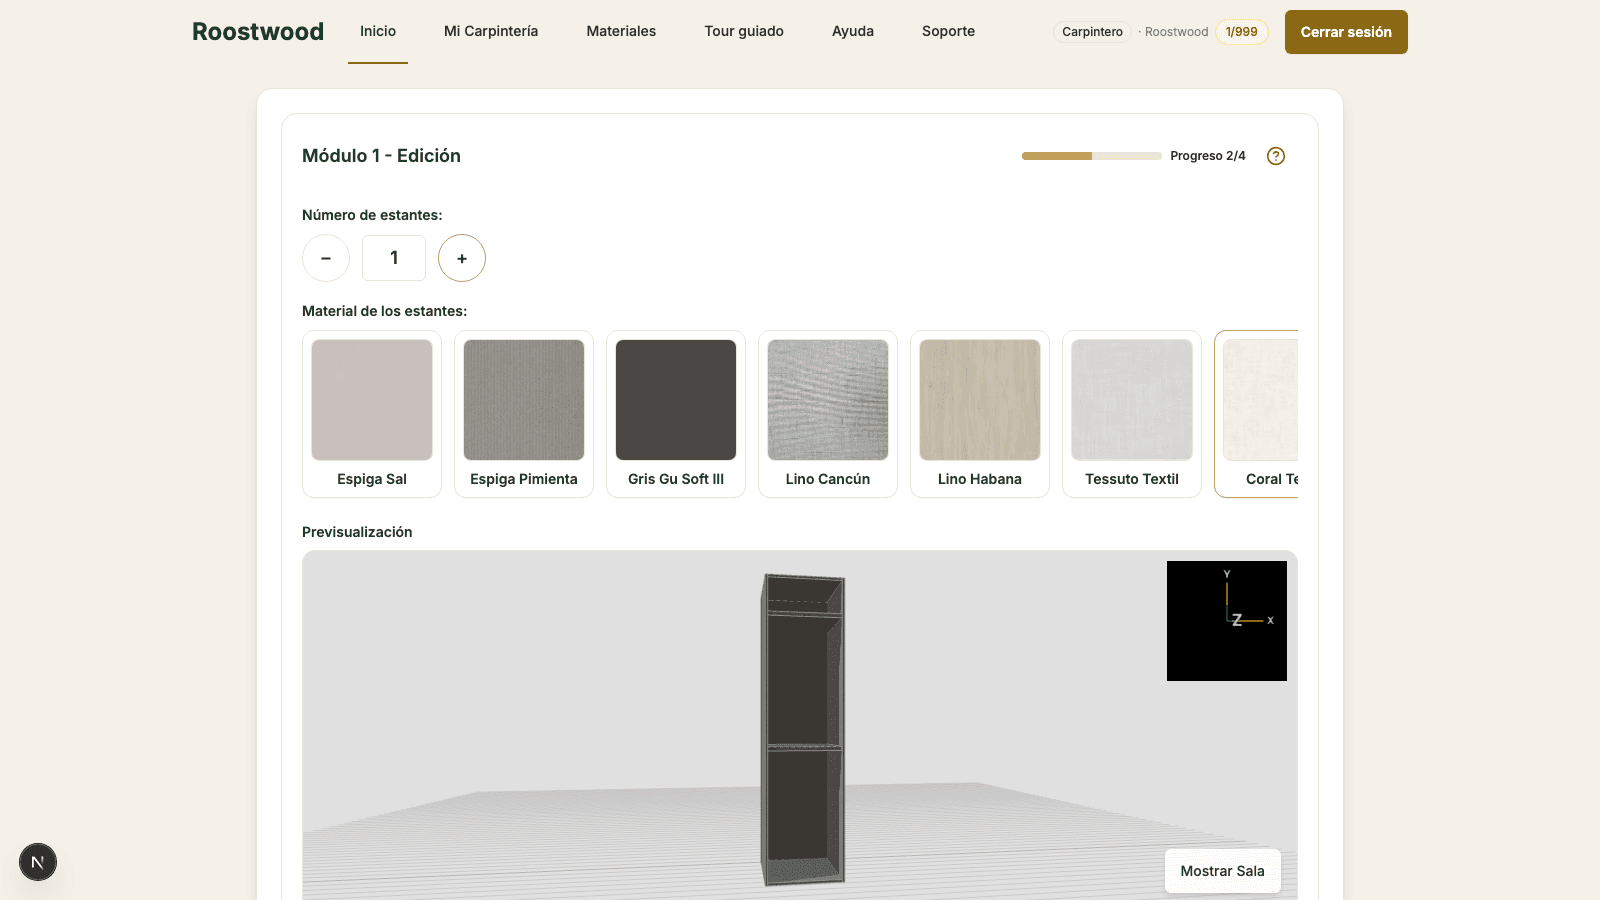
When the layout you picked includes shelving (internal shelves), Roostwood takes you to a dedicated step to say how many shelves you want and in which material. The shelving renders instantly in the 3D view so you can see the result.
Steps
-
Reach the shelving step. After choosing the layout and the body material, press Next. If the layout has integrated shelving, you enter the shelf configuration step.
-
Review the shelf material. At the top you will see the Shelf material carousel — independent from the body's — with the first material already preselected so you can move on directly. You can mix (wood body, white shelves) or repeat. Above the carousel you have the Supplier filter if you want to narrow down.
-
Choose the number of shelves. Below, an input with + / − buttons lets you adjust between 1 and 6 internal shelves. The 3D preview updates in real time so you can decide how many fit without saturating the space.
-
Move on with Next. The step is saved on the section and you continue to the next wizard step (drawer stack, extras, etc., depending on the layout).
Tips
- If you want a section with hanging space, leave the number of shelves at the minimum (1) and the bar takes the rest.
- Internal shelves are fixed by default. If you want adjustable ones, note it in the cut list's Notes field — it does not affect the geometry but the workshop sees it.
- Layouts without internal shelving skip this step automatically.