
Summary
Besides the global catalog materials, you can upload your own: a specific texture from a local supplier, a collection only you use, a special finish. Your personal catalog is called My materials and shows up automatically in the designer's carousels with a "Mine" badge.
Steps
-
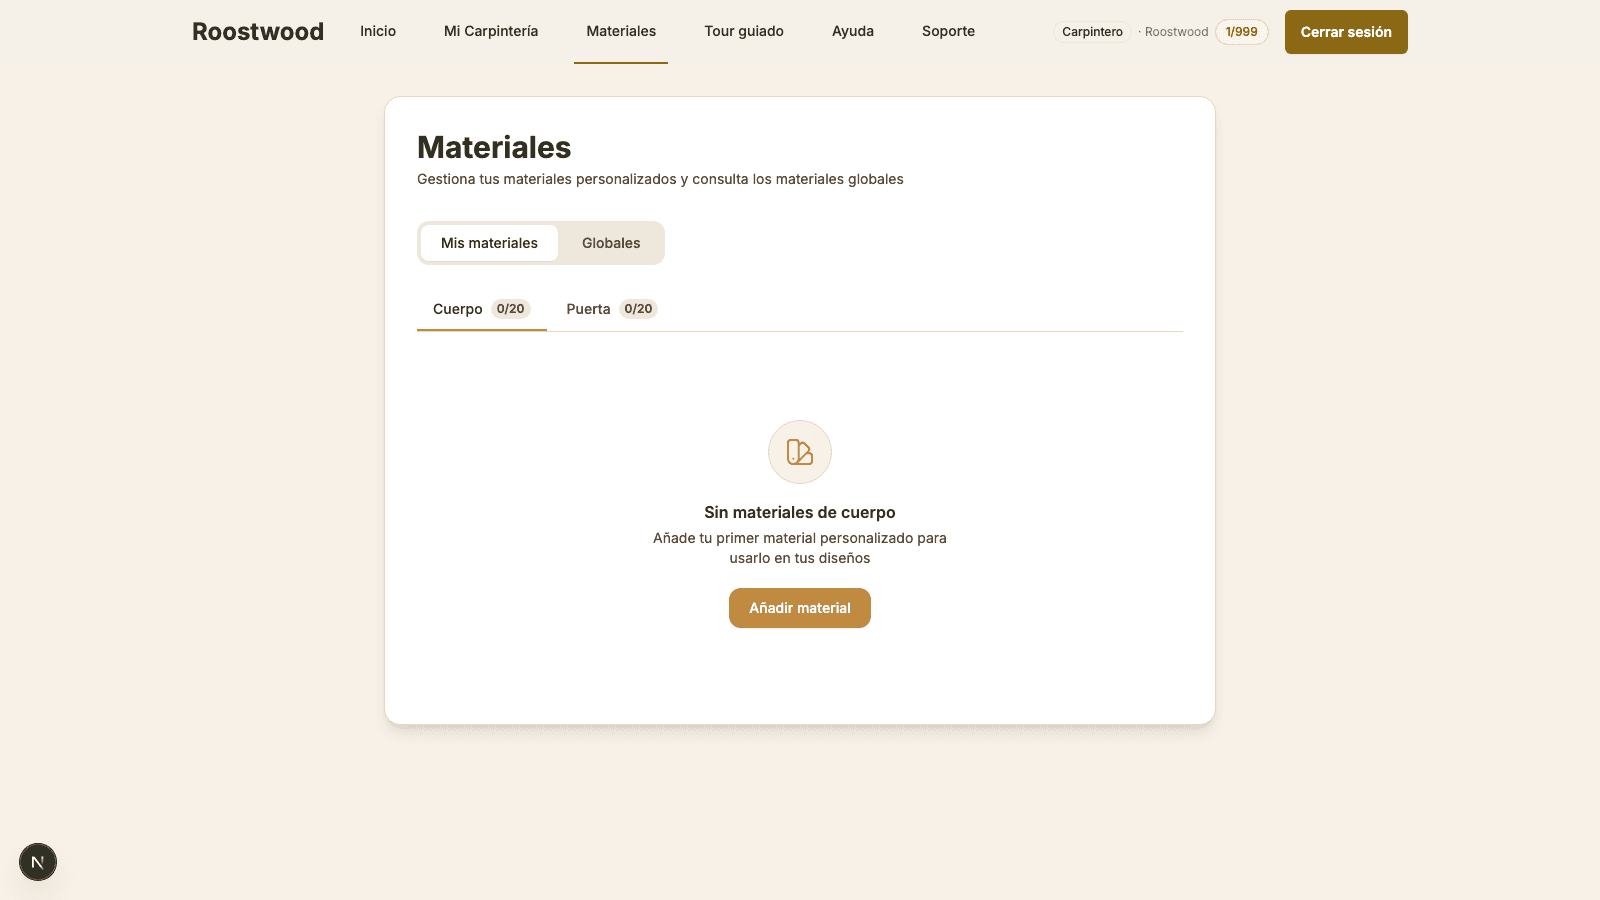
Open the Materials section. In the top bar press Materials. The page has two tabs: My materials (yours) and Global (the catalog's). Each tab splits into Body and Door.
-
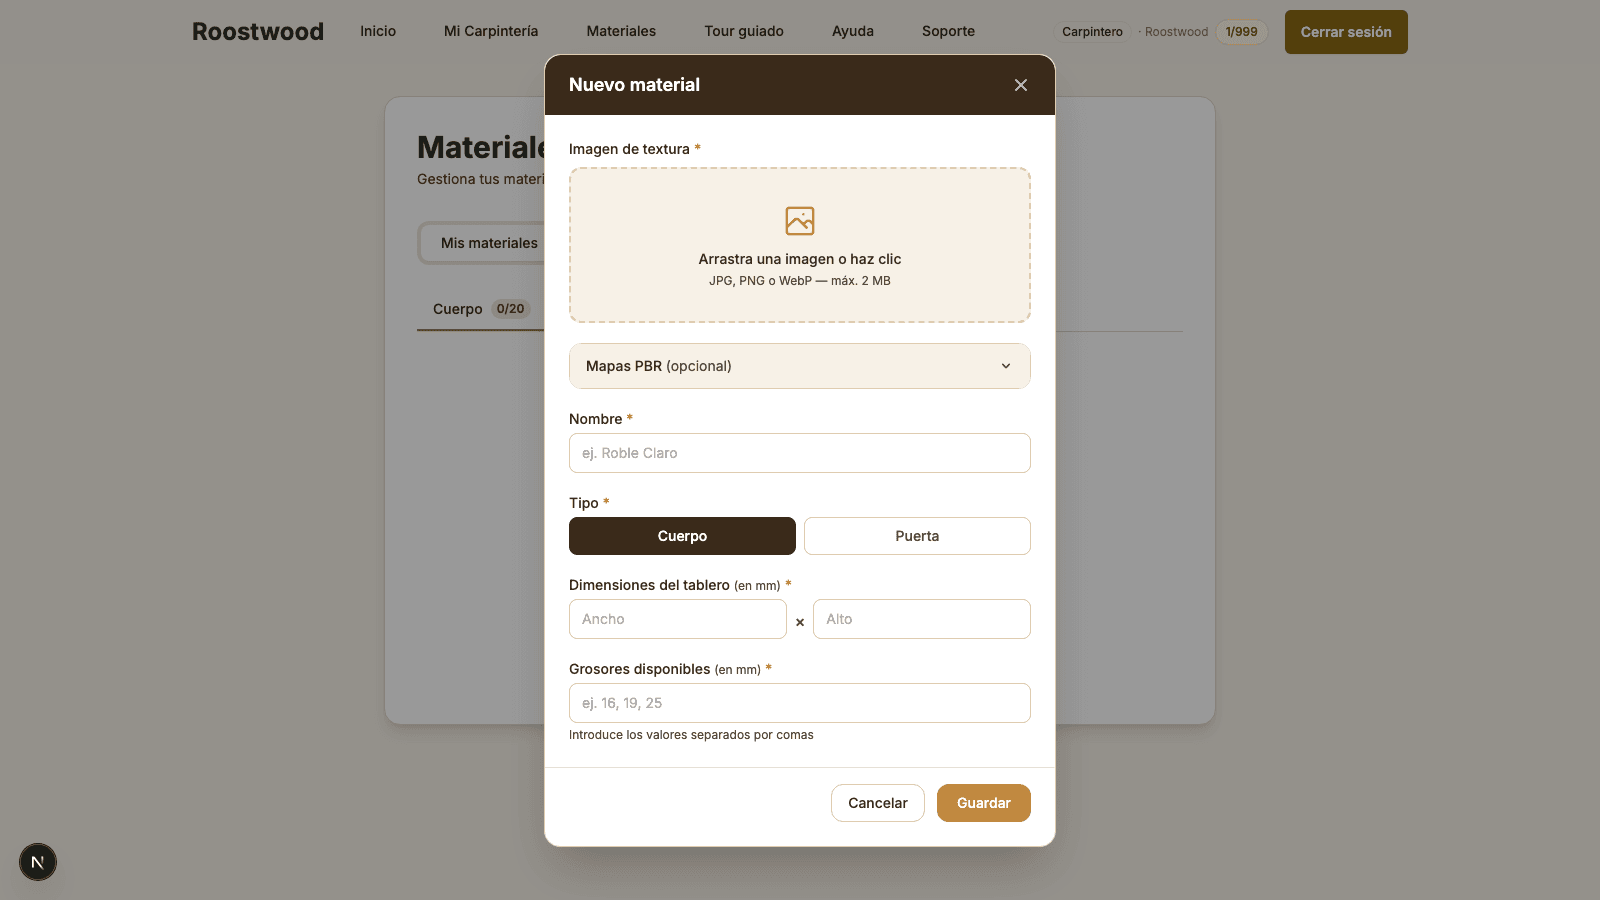
Press "Add material". A form opens with everything needed:
- Name.
- Type — Body or Door. It defines which carousels the material appears in.
- Texture image — upload a photo of the material (PNG/JPG) that will be applied in 3D.
- Board dimensions, thicknesses and prices — state the board size, which thicknesses (in mm) you offer and the price per board.
-
Save. Your material appears immediately in the designer's carousel with the Mine badge and applies like any other.
Tips
- The image is applied as the 3D texture — use a well-lit, good-resolution photo (1024×1024 minimum) so the result looks right.
- The thicknesses and prices are what the system uses to calculate the quote. If you leave a thickness without a price, that thickness is not offered when picking pieces.
- You can edit or delete a material at any time from My materials. Deleting does not affect projects already saved with that material (they keep the internal reference).