
Summary
Before you start designing a closet, you need the client on file. Each client is a record with a name, phone and email that all their projects hang from later. This guide takes you from the dashboard to your first client in under a minute.
Steps
-
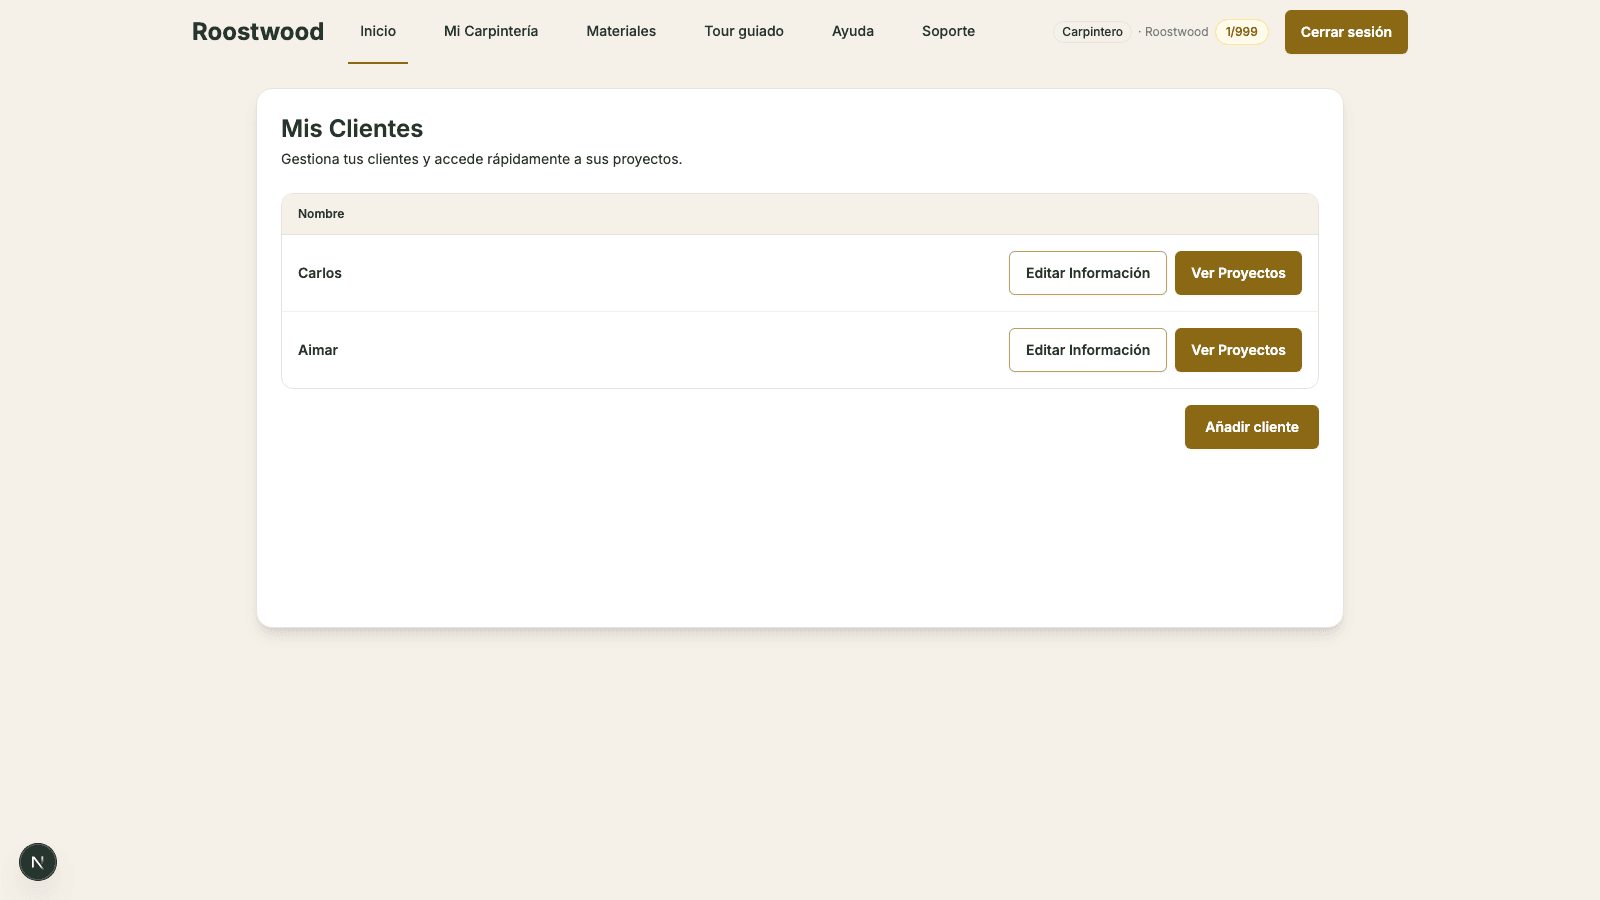
Open the home screen. From the top bar press Home. You will see the My Clients screen with the list of records you already have.
-
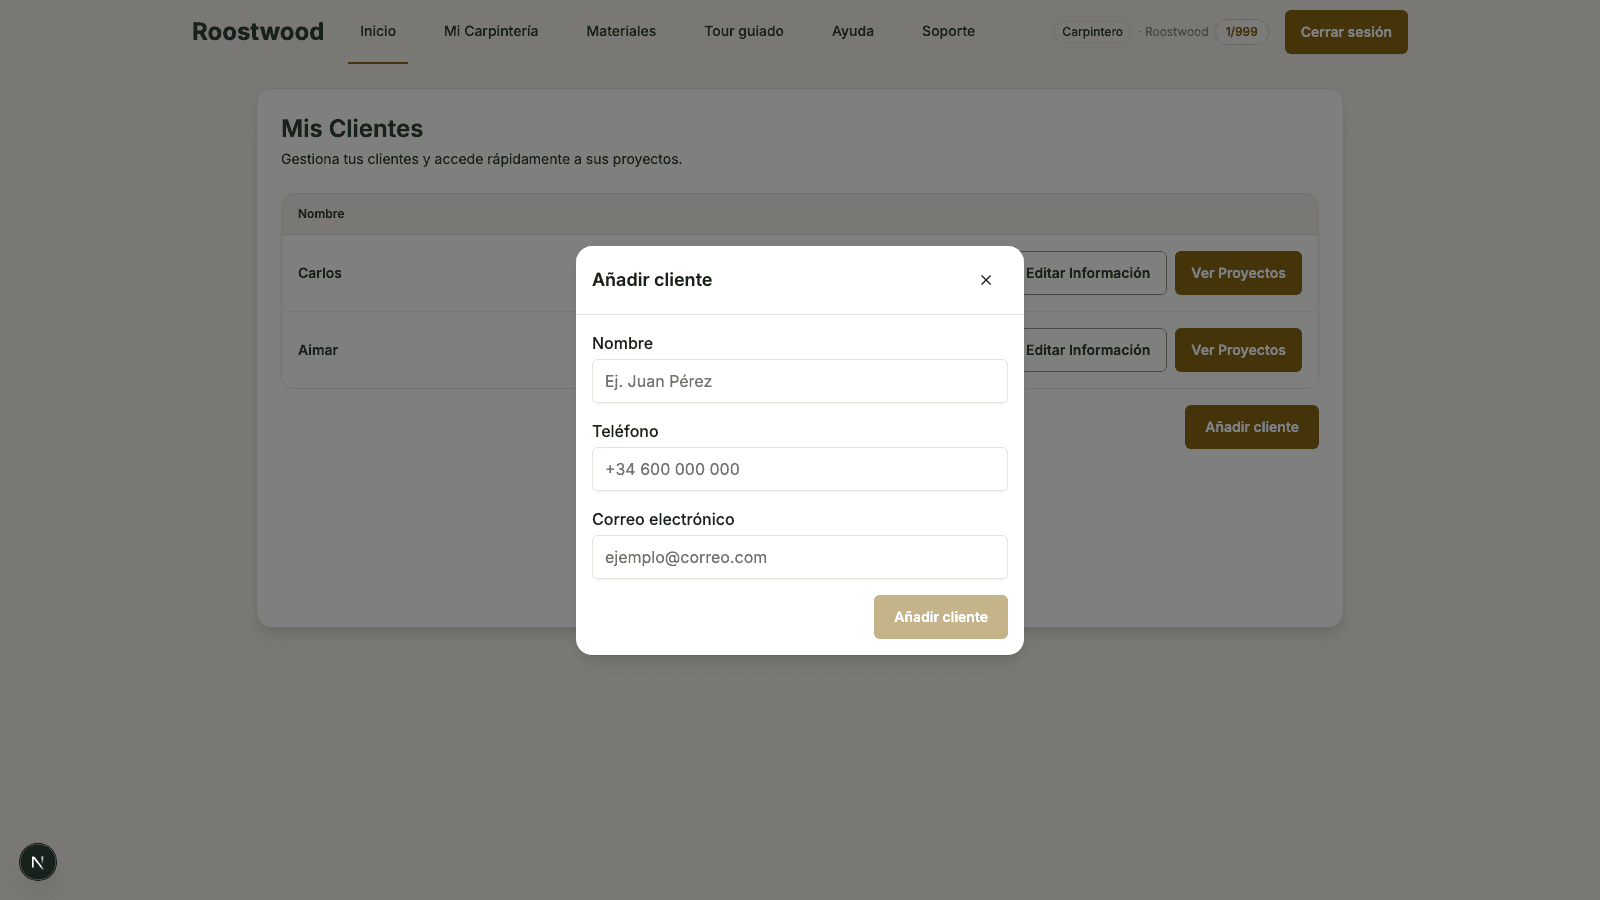
Press "Add client". The gold button lives at the bottom right of the list. Pressing it opens a modal titled Add client with the client fields.
-
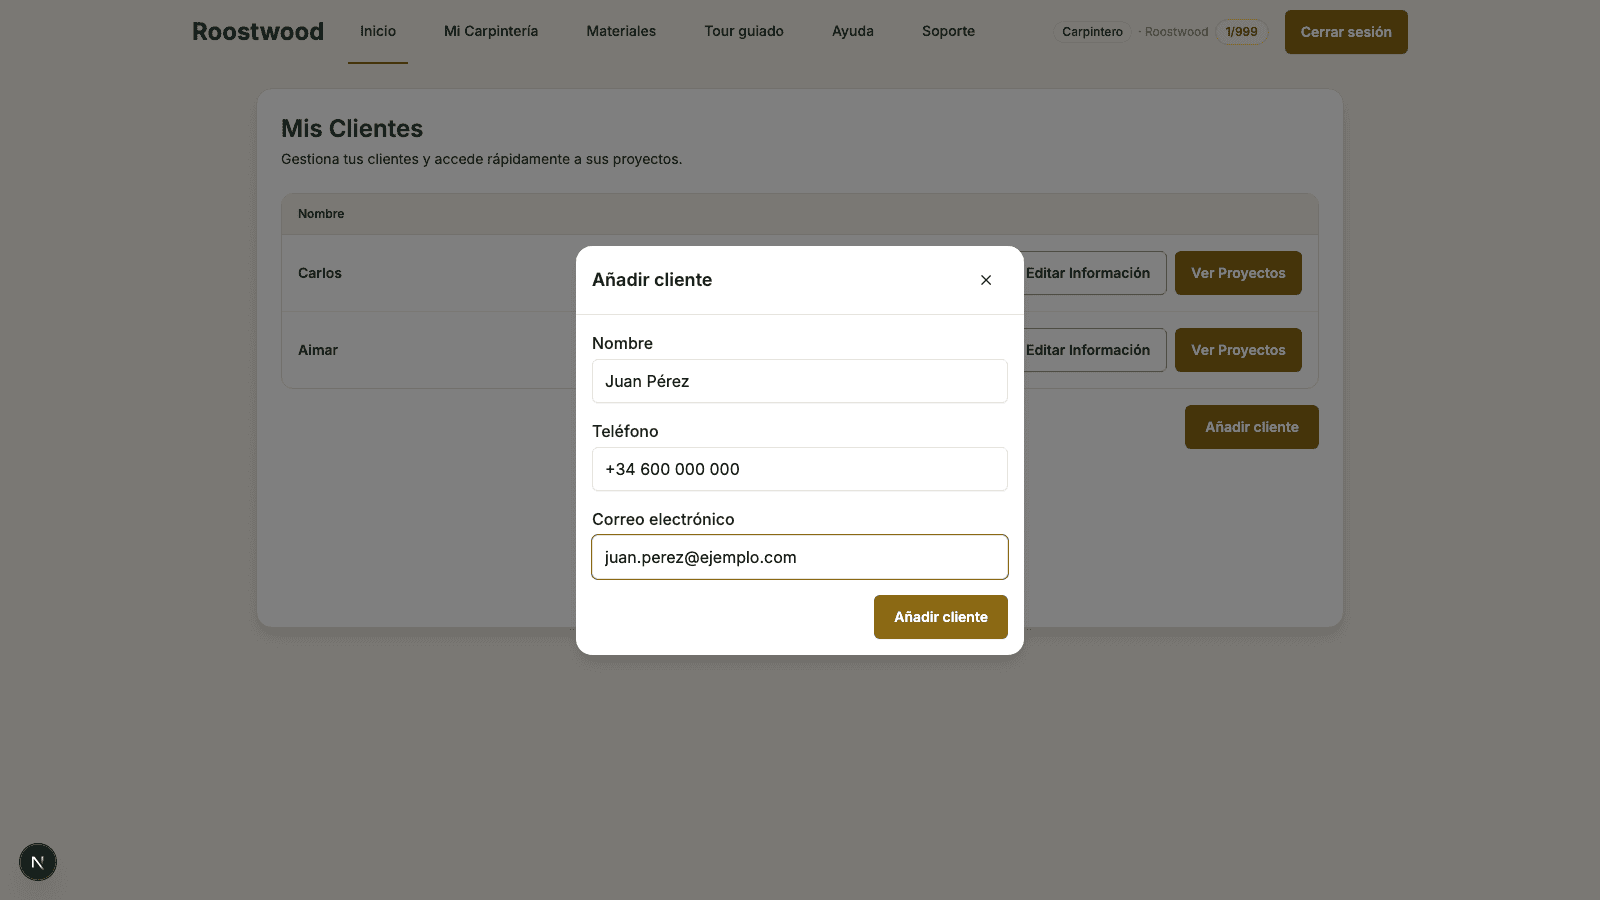
Fill in the fields and save. Name is required (e.g. John Smith), and you must provide at least one contact detail: Phone (free format) or Email (we validate the format). Press Add client to confirm and the modal closes by itself. The new client appears at the end of the list.
Tips
- You can edit the phone or email later from the Edit Details button on each row.
- Deleting a client also deletes all their projects. If you just want to archive them, leave them without active projects.
- The email and phone are the details that appear on the quote the end client receives, so type them carefully.