
Summary
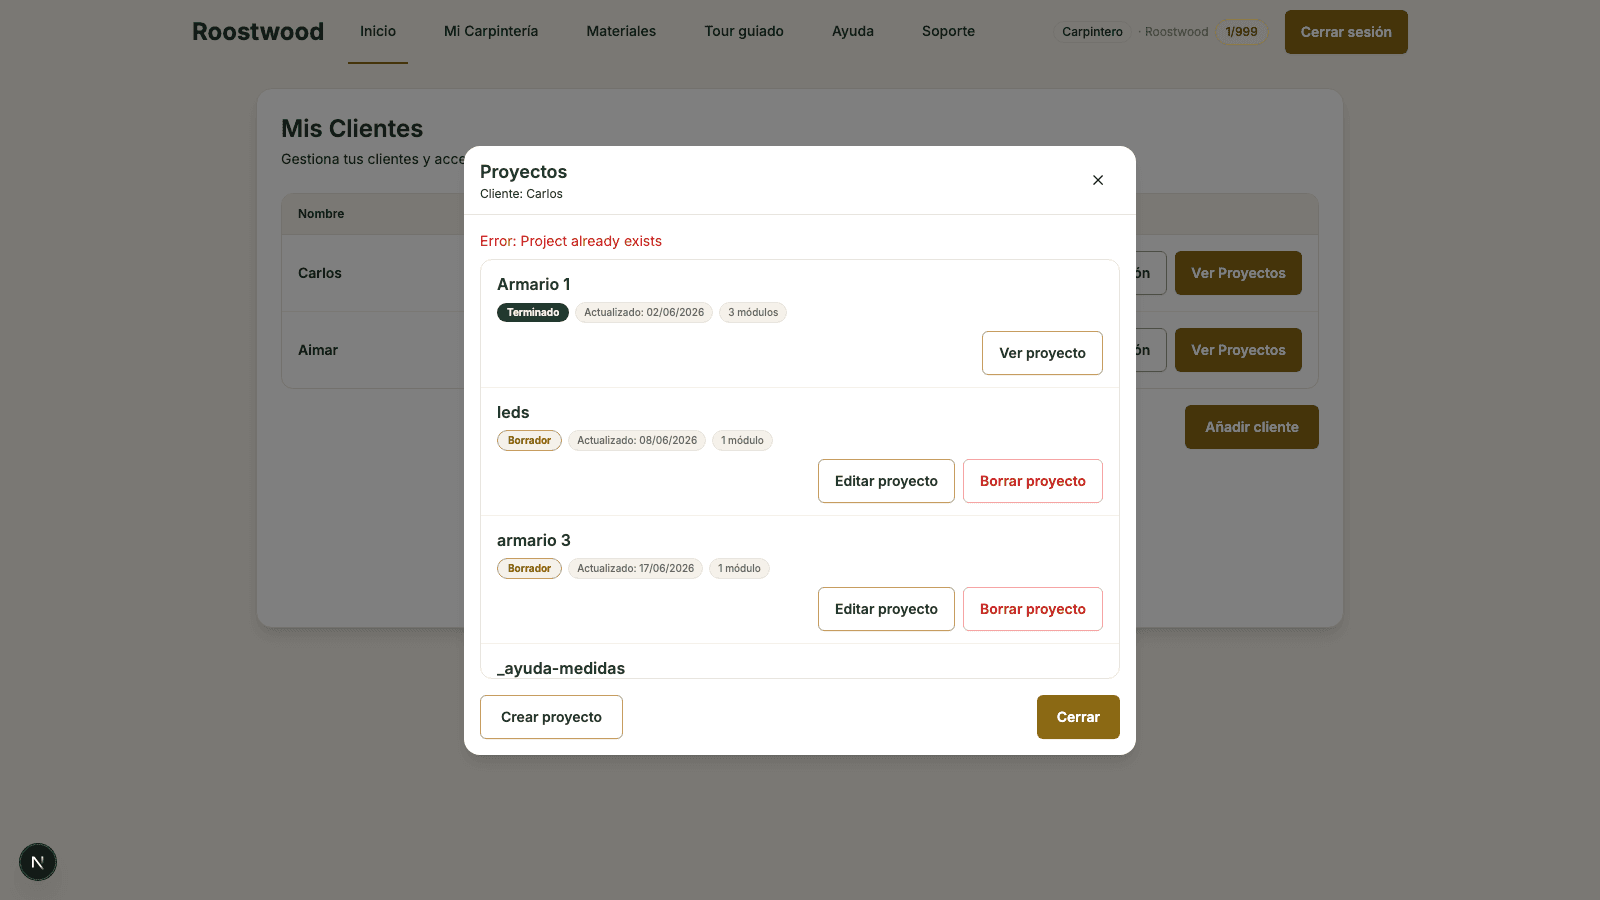
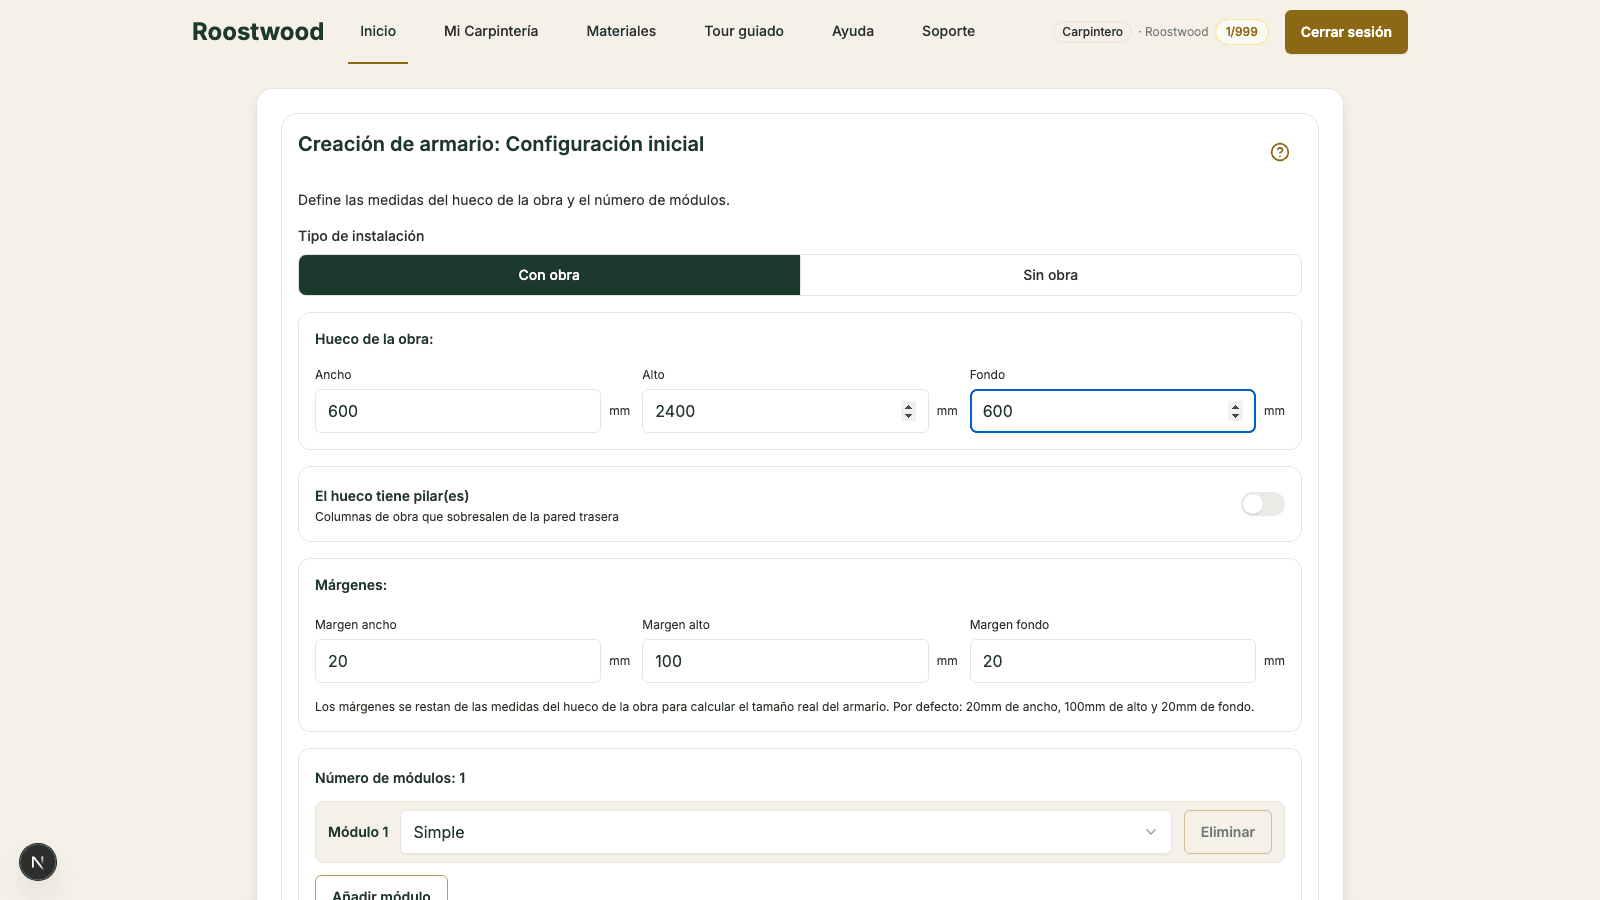
When you create a closet project, the designer's first step is the Initial configuration: there you state whether it is built-in, the opening measurements, the margins, the columns and how many sections the closet will have. The base geometry of the piece comes out of this; the rest of the flow takes these values as the truth.
Steps
-
Choose the installation type. The first thing at the very top is two buttons: Built-in (the default) if the closet goes into a rough opening, and Freestanding if it stands on its own. When you choose Freestanding, the margins stay at zero and the columns section disappears.
-
Fill in the rough opening. Three required fields:
- Width of the opening (wall to wall).
- Height of the opening (floor to ceiling, or dropped ceiling if there is one).
- Depth of the opening.
The minimums change between Built-in and Freestanding; if you enter a value out of range the field turns red and the Next button stays locked.
-
Adjust margins and columns (Built-in only). The margins are the clearance the closet leaves against the opening. If the opening has a protruding column, enable the columns toggle and fill in its depth and position.
-
Define how many sections. By default 1 Single section is created. Add more sections as needed; each section can be Single or Double. The widths must add up to the available space (opening width minus margins), otherwise a red warning appears. When everything fits, Next lights up and you move on to choosing the first section's layout.
Tips
- Changing the measurements after configuring sections deletes the sections. The system asks you to confirm before applying the change; it is irreversible.
- A Single section supports a limited width range and Doubles reach wider — for a very wide closet, split it into several sections.
- Below the minimum Built-in height we cannot guarantee that every internal layout fits.