
Summary
If you are fitting the closet into an opening that has a protruding column (the typical structural column that cuts a corner off), you have to declare it in the designer's first step. Roostwood uses that information to notch the affected sections and so the cut list reflects the real cut.
Steps
-
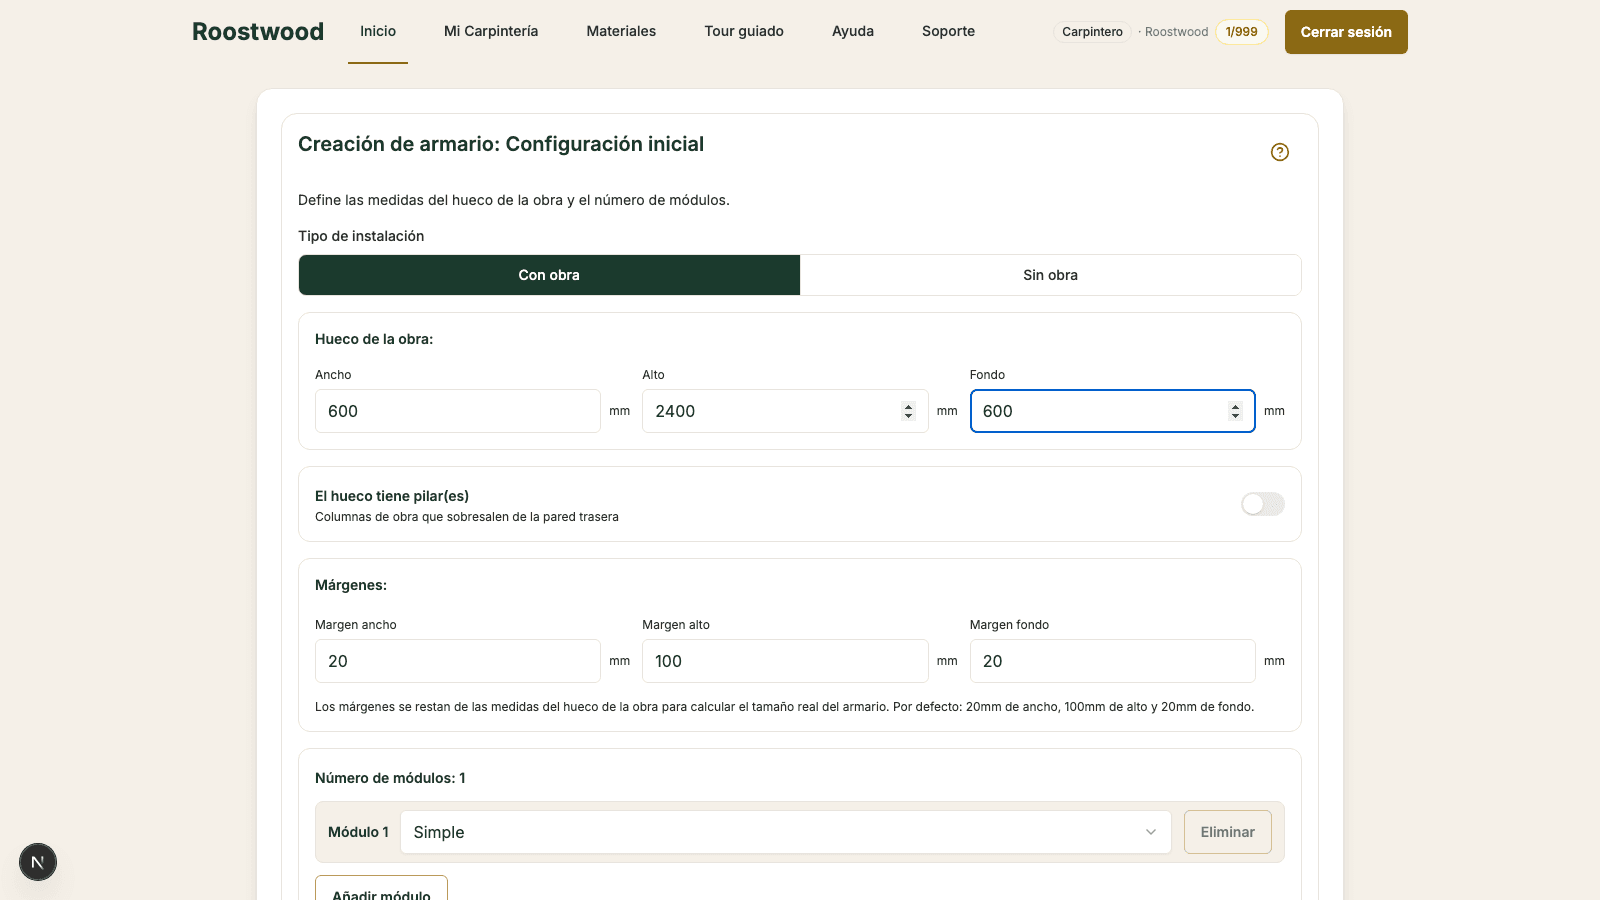
Make sure you are on Built-in. Columns only make sense when the closet is fitted into an opening. If you are on Freestanding the section does not appear. On the Initial configuration screen, check that Built-in is active.
-
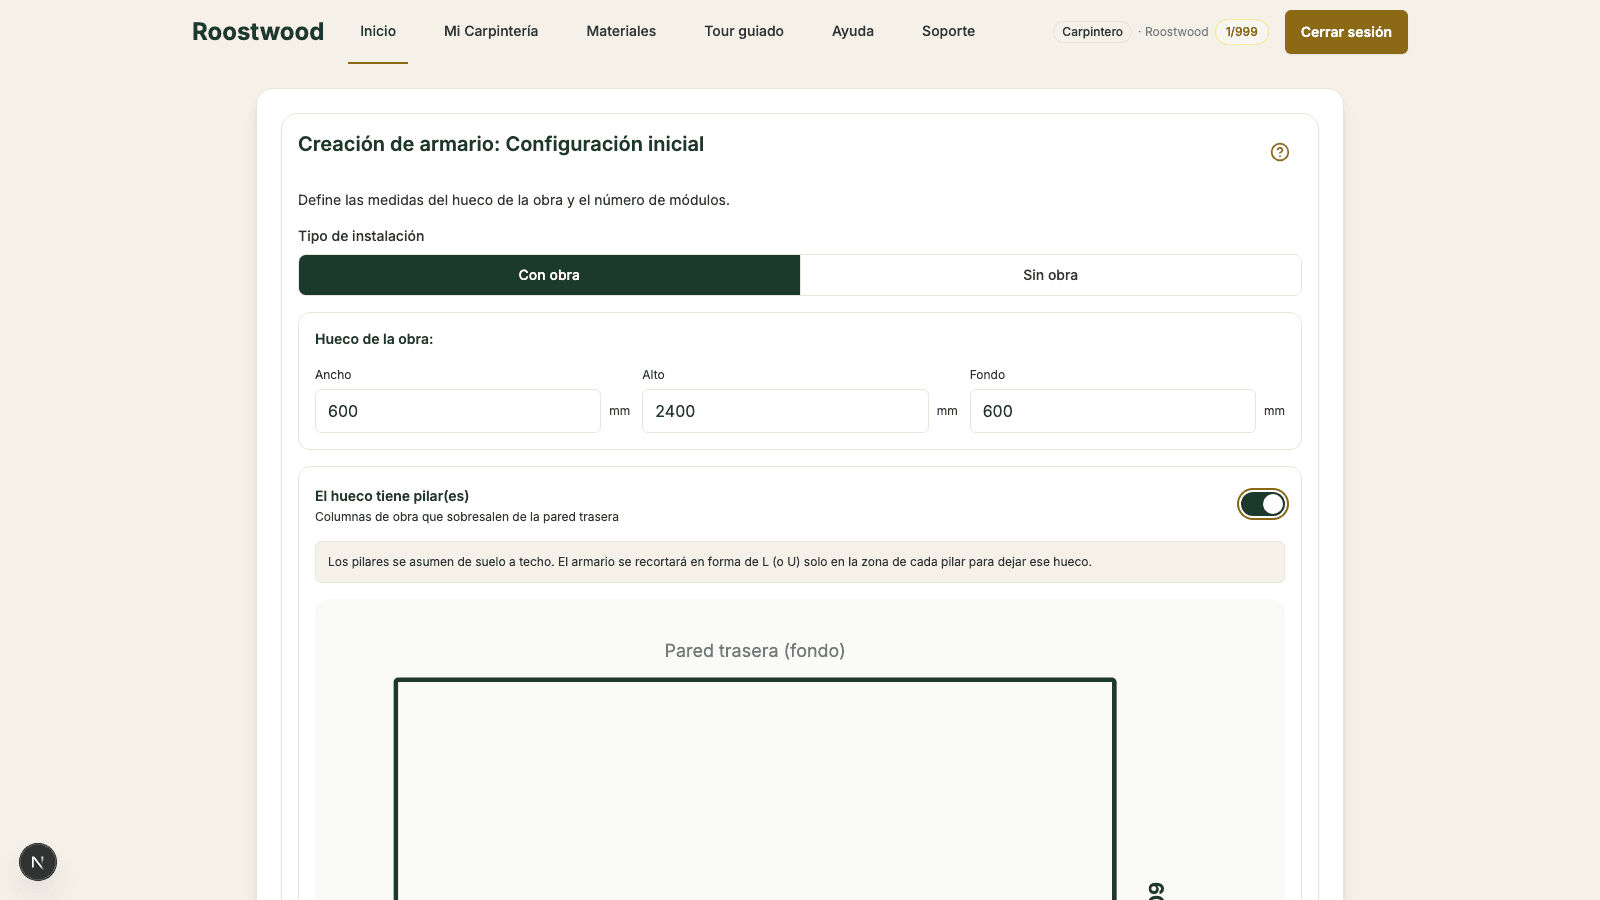
Enable the columns toggle. It sits right below the opening measurements. When you enable it, a panel appears with the fields that describe each column: depth (how far it protrudes from the wall), horizontal position and vertical position from the opening's origin.
-
Add as many columns as you have. Press + Add column to add more than one. As you type, Roostwood warns you if two columns overlap or if one falls outside the opening. When everything fits, the Next button unlocks.
Tips
- Measure the column's depth from the back wall, not from the ceiling. It is the value that defines how far the shelves step back in that section.
- If the column lands right between two sections, it pays to redesign the widths so the cut falls on the natural separation — it looks better.
- Changing the columns after configuring the sections deletes the sections. Define the geometry before moving into each section's wizard.